# Directory where all configuration will be stored # 默认配置文件路径,不建议修改 CONFIG=~/.jitsi-meet-cfg
# Exposed HTTP port (will redirect to HTTPS port) # 请改为80,默认为8000 HTTP_PORT=80
# Exposed HTTPS port # 请改为443,默认为8443 HTTPS_PORT=443
# System time zone # 中国时区请改为 Asia/Shanghai,默认UTC TZ=Asia/Shanghai
# Public URL for the web service (required) # 注意:如果使用非标准HTTPS端口,必须在URL中指明,例如 https://meet.tjbai.com:${HTTPS_PORT} # 设置Web访问地址 PUBLIC_URL=https://meet.tjbai.com:${HTTPS_PORT}
# Media IP addresses and ports to advertise by the JVB # 此设置已弃用 DOCKER_HOST_ADDRESS,并支持逗号分隔的IP列表 # 更多信息请参阅手册:https://jitsi.github.io/handbook/docs/devops-guide/devops-guide-docker#running-behind-nat-or-on-a-lan-environment # 请设置为当前服务器的公网IP地址。如果此项设置不正确,将无法进行音视频通话。 JVB_ADVERTISE_IPS=8.148.220.65
# Domain for which to generate the certificate # 用于申请证书的域名。在国内,此域名必须已经完成ICP备案,否则云服务商可能会拦截 Let's Encrypt 的验证请求,导致证书申请失败。 LETSENCRYPT_DOMAIN=meet.ai.com
# E-Mail for receiving important account notifications (mandatory) # 接收重要通知的邮箱,请填写您自己的有效邮箱 LETSENCRYPT_EMAIL=tjb_1216@ai.com
# Use the staging server (for avoiding rate limits while testing) #LETSENCRYPT_USE_STAGING=1
# Set ACME server. Default is zerossl. LETSENCRYPT_ACME_SERVER="letsencrypt"
# --- 身份验证配置 ---
# Enable authentication (will ask for login and password to join the meeting) # 启用身份验证,开启后创建会议需要主持人登录。 ENABLE_AUTH=1
# Enable guest access (if authentication is enabled, this allows for users to be held in lobby until registered user lets them in) # 允许访客访问。开启后,未登录用户可以进入大厅等待主持人允许后加入。 ENABLE_GUESTS=1
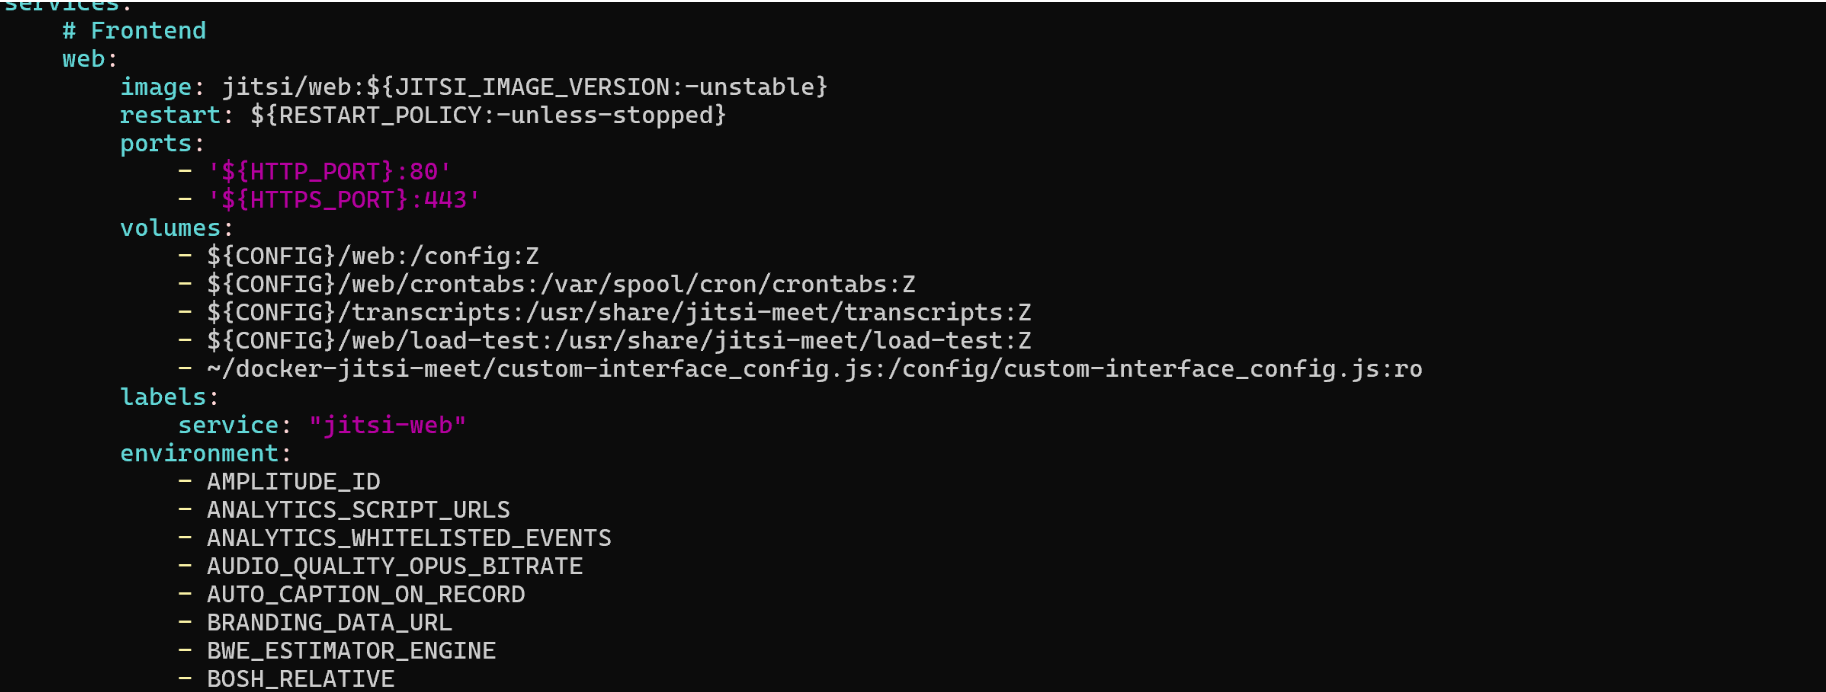
编辑 docker-compose.yml 文件,在 web 服务下的 volumes 部分添加以下数据卷映射,将我们刚刚创建的自定义JS文件挂载到容器中。
1 2 3 4 5 6
# ... other web service config ... volumes: -~/.jitsi-meet-cfg/web:/config # 添加下面这一行,实现自定义界面配置 -~/docker-jitsi-meet/custom-interface_config.js:/config/custom-interface_config.js:ro # ... other web service config ...
4.3、重启服务
1
2
docker compose down
docker compose up -d
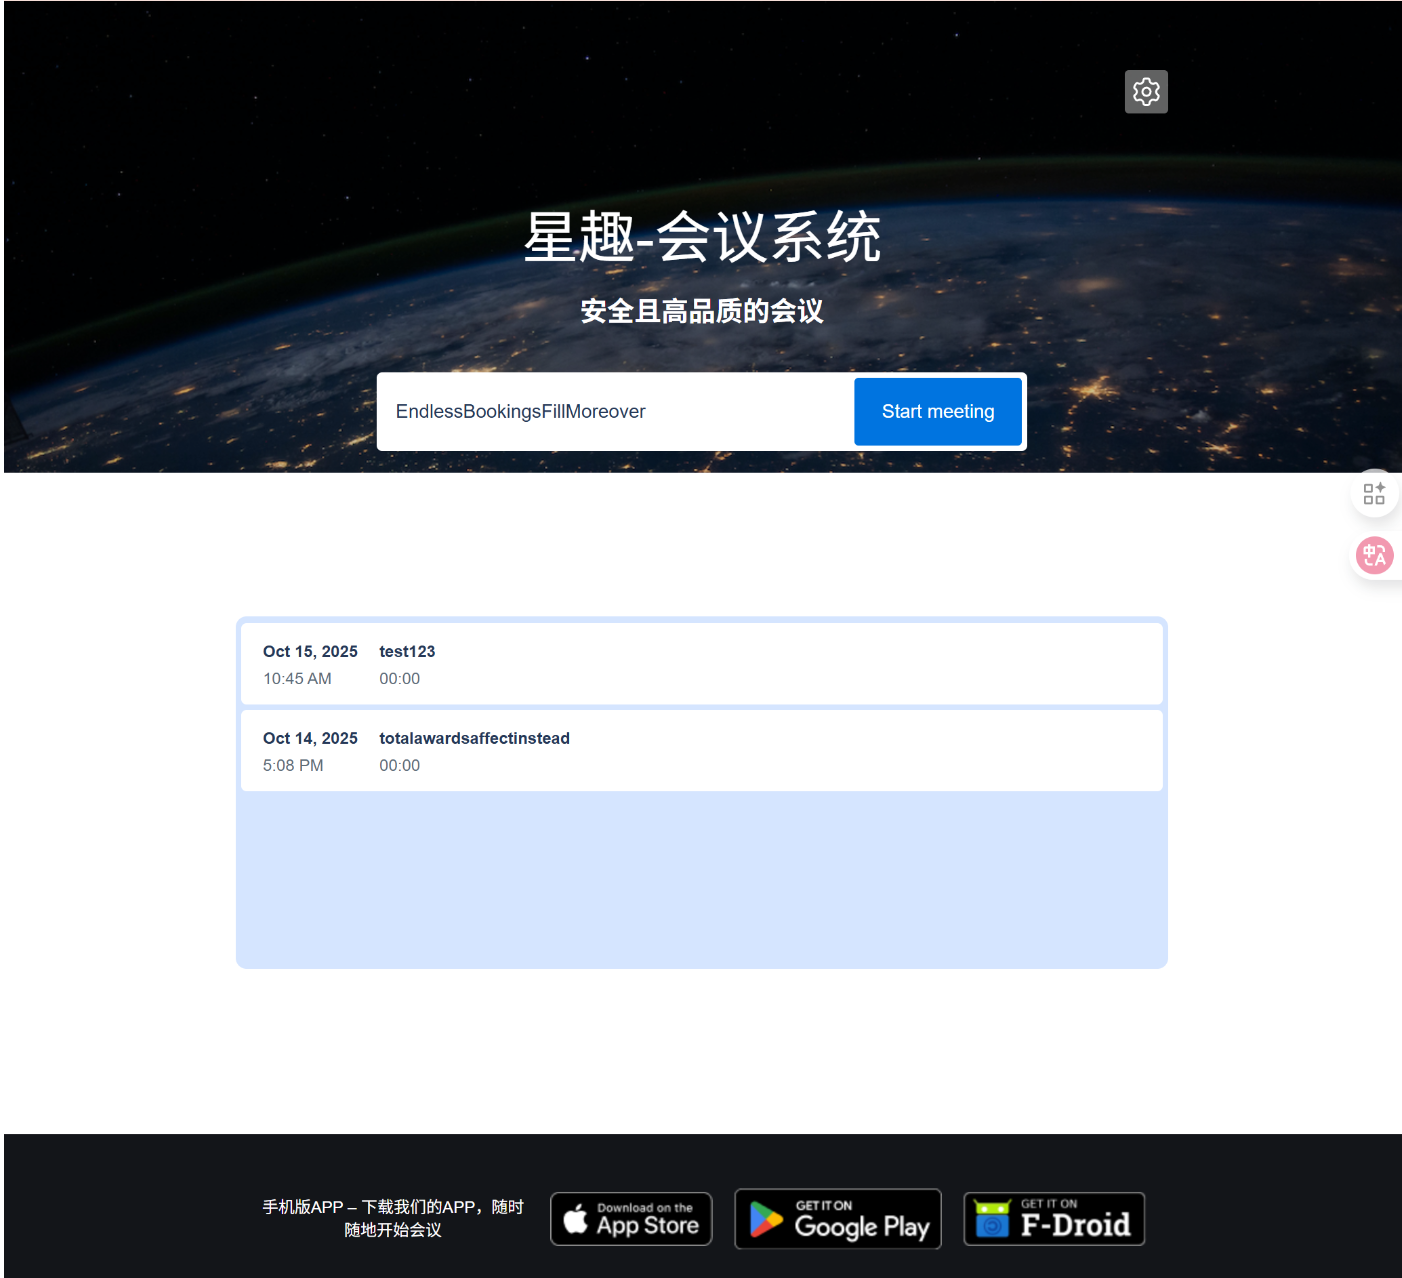
至此,一个高效、开源的私域视频会议系统就搭建成功了。
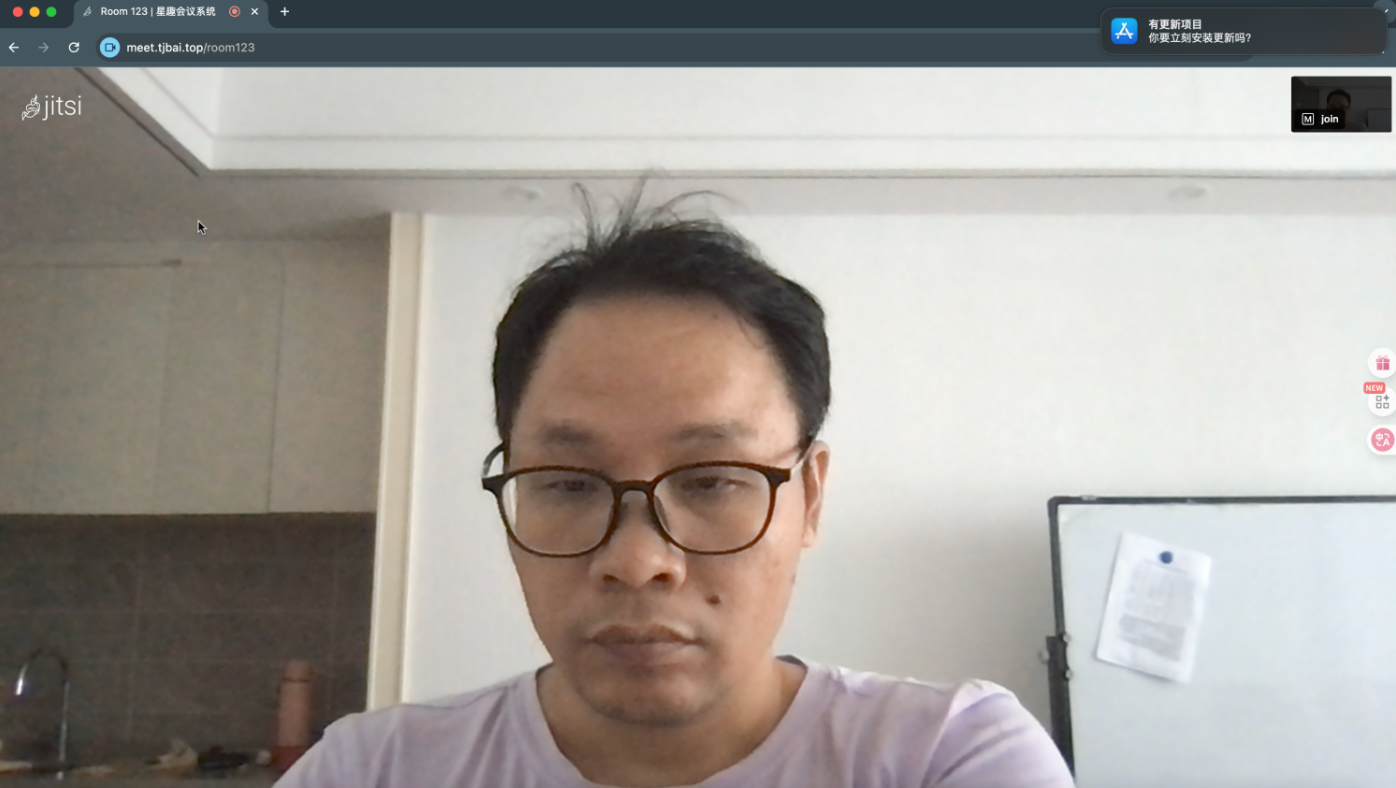
会议界面:
五、总结与经验之谈
IP 地址配置:JVB_ADVERTISE_IPS 必须配置为您服务器的公网IP地址。如果此 IP 不正确,用户将无法成功加入会议或进行音视频通话。